
How to Factory Reset iPhone and Prepare It Properly
- 13 Views
- johansan great
- October 10, 2026
- Reviews
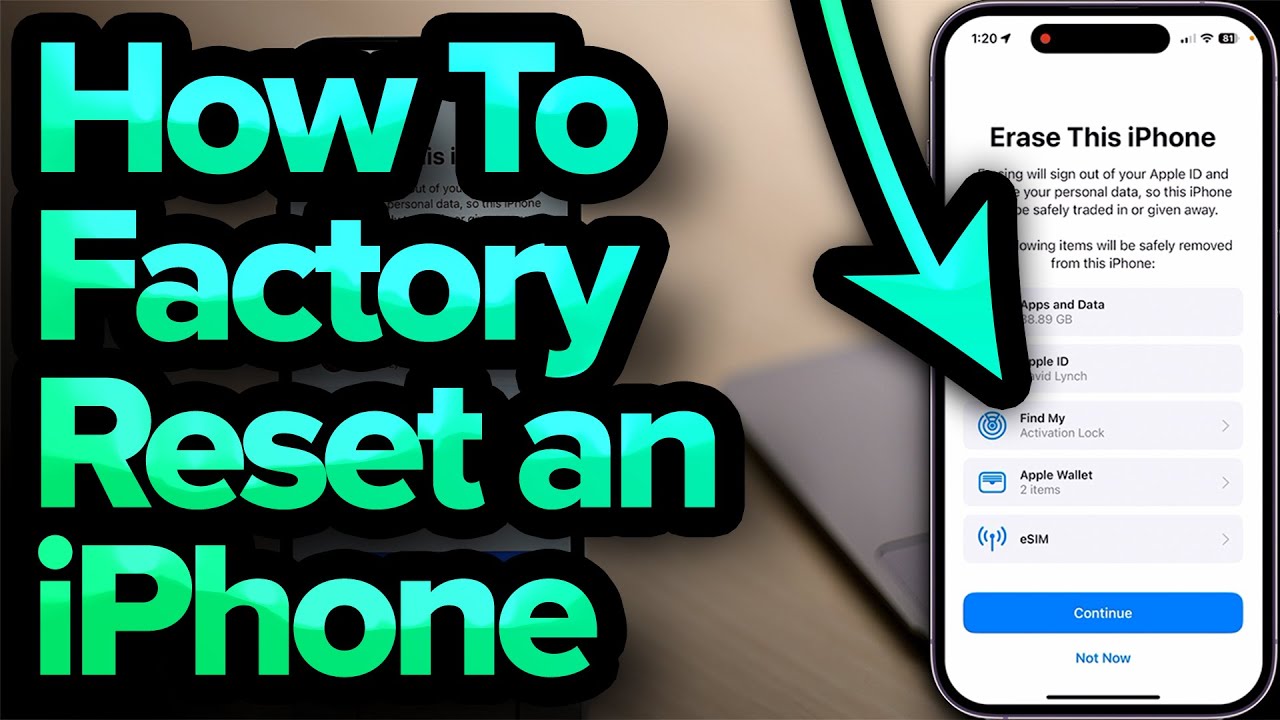
To factory reset an iPhone, open Settings, choose General, then Transfer or Reset iPhone, and select Erase All Content and Settings. Follow the prompts only after checking your backup, account access, and cellular plan choice. This action removes local content and settings, so preparation is essential.
A reset can prepare a phone for transfer or provide a clean starting point during troubleshooting. It is different from restarting the device, resetting network settings, or clearing browser data. Choose the action that matches your goal rather than using a full erase for a minor problem that may have a narrower solution.
Decide Why You Need a Reset
If you are selling or giving away the phone, the aim is to remove your information and prepare it for another owner. If you are keeping it, the aim may be to troubleshoot or rebuild the setup. Those situations require different decisions about cellular service and what happens afterward.
For a slow app or one broken connection, first consider restarting, updating, or adjusting the relevant setting. A factory reset creates additional work and does not guarantee that a hardware fault or service outage will disappear. Identify the symptom before choosing the largest available action.
Write down what you expect the reset to accomplish. This gives you a way to evaluate the result later. If you restore the same setup immediately and the original problem returns, your notes help you decide whether further diagnosis is needed.
Make a Backup You Can Use
Back up through an appropriate iCloud or computer method and check that the backup completed. Look at its date rather than assuming that automatic backup ran recently. The existence of a backup setting is not proof that a current backup is available.
Review important photos, documents, and app-specific files separately. Some information may sync through a service, while some may remain only inside an app. An editing project, locally stored download, or authentication setup can need its own preparation.
Open important files from another trusted device or storage location when practical. Verification reduces the chance of discovering after erasure that the only copy was on the phone. Keep original media and work documents organized rather than relying on one broad assumption about cloud storage.
Understand Sync and Backup
Synchronization keeps selected information consistent across devices, while a backup supports restoration according to its own rules. Deleting a synchronized item manually can remove it elsewhere. Do not clear photos and messages one by one as a substitute for the proper erase workflow.
Check how each service handles your information. If you use a third party photo or note app, confirm upload status and account access. The phone’s main backup may not tell the whole story about that service’s files.
Little Lioness’s article on basic technology habits is related reading for managing devices and storage. The useful principle before a reset is to know where important information lives and how you will retrieve it.
Confirm Your Account and Recovery Access
Make sure you know the device passcode and Apple Account credentials. Check that you can receive required verification messages after the phone is erased. If it is your only trusted device or the only place you store recovery information, plan another reliable route first.
Review password manager access, recovery codes, and authenticator apps. Some authentication tools have transfer or backup procedures. Complete those procedures before erasing the only device that generates your sign-in codes.
Do not store the only recovery instructions on the phone you are about to wipe. Keep them securely elsewhere. For work or school accounts, ask the administrator about required transfer steps so that the reset does not leave you unable to access essential services.
Prepare a Paired Apple Watch
If you are transferring the phone or changing your setup, review the Apple Watch pairing before erasing. Use Apple’s appropriate unpairing process when needed. Watch backup and Activation Lock considerations are separate from simply deleting the Watch app.
Keep the watch and phone close during the relevant process and allow it to finish. A rushed erase can make later setup more complicated. If you are moving to a new iPhone, follow the migration workflow suited to both devices.
Record which accessories and apps you will need to reconnect afterward. Bluetooth devices, banking apps, and work tools may require setup steps. A short list helps you rebuild deliberately rather than noticing missing access during an urgent task.
Choose What to Do With the eSIM
The erase process may offer a choice to keep or delete an eSIM. If you are keeping the phone and troubleshooting, retaining the eSIM may be appropriate. If you are transferring ownership, review the service-transfer and deletion instructions for your carrier and situation.
Deleting an eSIM does not necessarily cancel the subscription or billing arrangement. Contact the carrier for service changes. Reactivation may require the carrier’s help, so do not erase the plan without knowing how you will get connected again.
If the phone uses a physical SIM, handle it according to your transfer plan. Make sure cellular access and verification messages remain available on the device you will use next. The hardware erase and the mobile subscription are related but separate tasks.
Use Erase All Content and Settings
Connect to a reliable network and ensure adequate battery or power. Open Settings, then General, then Transfer or Reset iPhone. Choose Erase All Content and Settings, read the summary, and continue only when the listed consequences match your intention.
Follow the prompts for backup completion, passcode, Apple Account authentication, and eSIM choice as applicable. The exact sequence can vary with software and account circumstances. Do not skip a backup warning simply because you are in a hurry.
Wait for the erase to finish. Do not interrupt the process casually. When the phone reaches the Hello setup screen, the local reset has completed. If the device is for another owner, follow the remaining transfer checks and leave personal setup for them.
Know the Difference Between Reset Options
Reset Network Settings changes network-related configuration and can remove saved connection details. Reset All Settings changes a broader set of preferences without being the same as a full content erase. Read the current explanation for your iOS version before choosing either.
Erase All Content and Settings is the option for clearing the device’s local content. A similarly named Reset control can lead to a menu of narrower actions. Do not judge the consequence from the word reset alone; inspect the specific option.
For a browser-only problem, Little Lioness’s guide to Safari on iPhone and iPad is related reading. Troubleshooting one app is usually a different task from preparing an entire phone for a new owner.
If You Cannot Access Settings
If the phone is disabled, you forgot the passcode, or the interface is unavailable, use Apple’s official recovery or computer-based restore guidance for your model. Button sequences and software requirements can differ. Do not use a random procedure intended for another device.
A restore can erase the phone, but it does not automatically bypass ownership protections. Activation Lock may still require the associated Apple Account. If you bought a used device, ask the legitimate previous owner to complete the proper removal process.
Avoid services promising to bypass ownership checks through secret software. Use official support and proof-of-ownership routes where applicable. A technical reset and the right to activate a device are not the same issue.
Set Up Again After Troubleshooting
If you are keeping the phone, follow the setup assistant and choose an appropriate restoration method. Restoring a backup can bring back familiar apps and information. Setting up as new can provide a cleaner comparison when a specific troubleshooting plan calls for it.
Test the original problem before adding every optional app and customization. A staged setup helps you see whether the symptom returns after a particular change. Keep the test practical and avoid assuming one successful minute proves a long-standing fault is solved.
Allow time for downloads and synchronization. A recently restored phone may be busy rebuilding its content. Compare performance after normal setup work completes, not during the first moments of heavy background activity.
Check a Phone Before Handing It Over
Confirm that personal content is gone and that the device is at the intended setup stage. Follow Apple’s transfer guidance to verify account removal and ownership readiness. A Hello screen by itself does not justify ignoring a remaining account association.
Remove personal accessories, SIM-related items as appropriate, and any case contents such as cards. Keep records you need for the sale without including sensitive account information. Give the recipient accurate information about the phone’s condition and what is included.
If the phone was managed by an organization, its enrollment may need action from the administrator. Erasing it does not necessarily remove the organization’s controls. Resolve that before promising a buyer that the device is unrestricted.
Frequently Asked Questions
Will a Factory Reset Delete My Apple Account
A device erase is not the same as deleting the Apple Account itself. Account data and synced services have their own rules. Follow the erase and transfer workflow rather than manually deleting cloud content. Read account prompts carefully so you know which action you are authorizing.
Can I Reset Without a Backup
You can choose to erase without preserving local content, but the information may not be recoverable afterward. Make that choice deliberately. Important files, authentication access, and app projects deserve a separate check before you decide that nothing needs saving.
Will Resetting Fix a Broken Battery or Screen
No software reset repairs a physical component. It may help diagnose a software-related symptom, but hardware problems need appropriate service. If the phone has visible damage, swelling, or other serious physical concerns, seek qualified support rather than repeating resets.
Prepare Before You Erase
Knowing how to factory reset iPhone is only part of the task. Verify your backup, preserve recovery access, decide on cellular service, and follow the correct ownership workflow. A careful preparation makes both transfer and troubleshooting much easier afterward.