
How to Make a Paper Airplane and Improve Its Flight
- 2 Views
- johansan great
- October 19, 2026
- Reviews
To make a simple dart paper airplane, fold a rectangular sheet lengthwise, bring the upper corners to the center, narrow the nose with another pair of folds, and form matching wings. Symmetry and a gentle consistent launch matter more than decoration. This guide explains a repeatable design and small adjustments so you can understand why one plane glides and another dives.
Choose Suitable Paper
Use ordinary A4 or letter paper without tears. Very heavy card and thin tissue behave differently.
The first useful distinction is between paper stiffness and decoration first. Keeping those separate makes the choice clearer. The material affects folding and weight. The practical aim here is a manageable starting sheet, rather than rushing through an action without knowing what it should accomplish.
A common problem is paper too stiff to crease evenly. Begin with ordinary printer paper. Before moving on, check an intact rectangular sheet. That check gives you a concrete result to use, so you do not have to decide from an impression alone.
Create the Center Crease
Fold lengthwise with long edges aligned, press the crease, and reopen. The line guides later folds.
Think of a straight reference as a specific part of the task. It should not be confused with guessing the middle. Symmetry begins with a clear center. In practice, an accurate fold guide gives this step a clear purpose and helps you judge whether the approach suits your situation.
If you notice misaligned long edges, pause at this point. Realign before pressing firmly. Look for matching edges and a straight crease before treating the step as complete. The small details matter because a later action cannot always make up for an earlier misunderstanding.
Fold Upper Corners In
Bring the upper corners to the center crease to form a pointed nose. Match the two sides.
It helps to decide what nose symmetry should achieve before considering folding by eye alone. Uneven halves can produce turning. The intended outcome is a centered first point. Keep that outcome in view when choosing among methods, because a method that looks convenient can still miss the actual purpose.
Watch for one corner overlapping the other. Use the center line and compare sides. A useful check is equal corner folds. Make the decision from what you can verify, and avoid treating a familiar-looking result as proof that every important detail is correct.
Narrow the Nose
Fold the new sloping upper edges toward the center again. Keep the point centered and folds even.
There is a practical reason to give the second nose folds its own attention instead of folding it into maximum narrowness. A repeatable design needs matching geometry. The goal is a neat tapered front. Approaching it as a separate decision helps you keep the instructions clear and prevents unrelated details from distracting you.
One avoidable difficulty is different fold angles. Compare edges before creasing. Confirm a centered nose and equal sides. If that confirmation is missing, use the relevant guidance for this step instead of assuming that the rest of the process will compensate.
Fold the Body
Fold the plane along the original center line with the folded layers inside. Keep the nose aligned.
At this stage, body alignment matters more than compressing randomly. The central body supports both wings. You are aiming for a straight fuselage. A clear target makes it easier to choose a sensible next action and to recognize when the current approach does not fit what you need.
Be careful about a twisted body. Refold along the established crease. Pay attention to the two halves aligned. This is the detail that makes the advice usable in a real situation, where conditions may differ from the simplest example.
Make Matching Wings
Fold one side down to form a wing, leaving a narrow body to hold. Repeat at the same height on the other side.
Treat wing equality as a decision you can explain, rather than letting the exact width alone make the decision for you. Matched wings matter more than an arbitrary measurement. The purpose is balanced wing geometry. That reasoning is useful when you encounter a variation and need to understand which part of the advice still applies.
Do not overlook one wing substantially larger. Use the first wing as a reference. Check matching wing folds. Keeping that point explicit makes the result easier to assess and reduces the chance of continuing simply because you have already invested time in the approach.
Set the Wing Angle
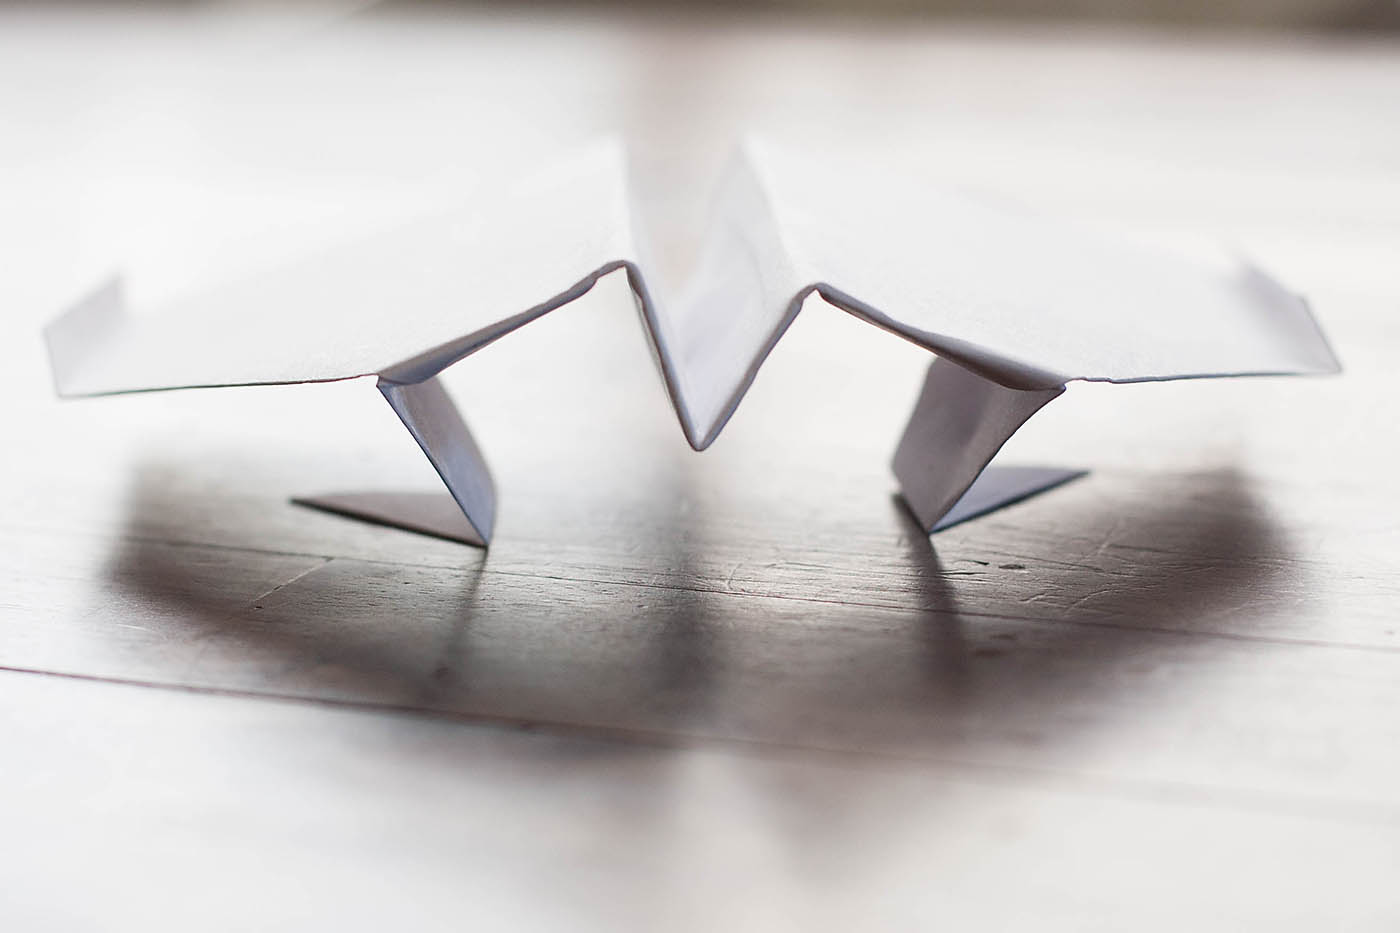
Open the wings so they sit roughly level or slightly raised from the body. Avoid bending one differently.
The connection between balanced presentation and perfectly flat pressure deserves a closer look. The launch shape affects stability. What matters most is a consistent starting shape. Use that relationship to choose the appropriate method instead of relying on a rule remembered without its original conditions.
A sign to reconsider the approach is one drooping wing. Adjust gently and compare from the front. Look specifically for the same angle on both sides. A focused observation is more useful than a broad judgment that something seems right or wrong.
Launch Gently
Hold the body beneath the wings and throw forward smoothly in a clear safe space. Never aim at a person.
Give priority to consistent release when throwing as hard as possible would distract from the immediate task. Excess force can mask design behavior. The desired result is a safe test flight. Keeping the scope narrow here lets you deal with the relevant issue without adding changes that have no clear purpose.
A frequent source of confusion is a violent throw or people in range. Use a modest repeatable launch. Verify clear space and controlled release. That verification should match the actual situation, not just the appearance of a picture or an example with different conditions.
Adjust Small Details
Tiny symmetrical bends at rear wing edges can influence pitch. Make one small change and compare.
Consider the effect of small adjustments on the result, compared with many changes together. A controlled test helps explain the result. Your aim is understood flight behavior. This is a useful point to distinguish a necessary action from an optional preference, particularly when several possible approaches seem equally convenient.
Take account of bending every edge at once. Alter one feature modestly. The detail to confirm is whether the change improves the same launch. If you need further help, describe that detail precisely so another person can understand the problem without guessing.
Record and Compare Designs
Keep the paper and launch similar when comparing planes. Note distance, stability, and the chosen adjustment.
Finally, connect fair comparison with one lucky flight in a way that serves the original purpose. Environment and release affect results. The outcome you want is repeatable learning. A good finish checks the result as carefully as the beginning checked the setup.
The issue to avoid is judging from one extreme throw. Use several safe similar launches. Before considering the task finished, confirm a consistent trend. That final check helps separate a completed action from a result that is actually suitable for use.
A Practical Example
Make two planes from matching paper. Keep one unchanged and adjust only the rear wing edges on the other. Launch both gently from the same place several times. Compare their average behavior, not only the longest flight. This turns folding into a practical experiment without needing expensive equipment.
How to Compare Two Test Flights
Make the first airplane from ordinary rectangular printer paper and keep the wings as symmetrical as possible. Before the first flight, hold it at eye level and compare the wing heights. A crooked wing fold can send the plane into a turn even when the throw feels straight. Check the underside too: extra layers on one side can make the body twist. Press the main creases firmly, but avoid crushing the wings between your fingers.
Choose an open indoor area away from people, pets, fragile objects, and stairs. Use a gentle level throw from approximately the same position each time. A very hard throw may produce a short dramatic dive that tells you little about the design. Mark the approximate landing point and note whether the plane climbed, dived, turned, or glided steadily. Repeat before deciding the result was caused by the fold rather than the release.
Change only one feature for the next comparison. If it dives, a tiny upward adjustment to the rear wing edges may help; too much adjustment can make it stall. If it turns, check symmetry before bending one wing. Keep both changes small enough to reverse. A second airplane made from the same paper provides a useful comparison, especially if the first has become crumpled. When a design finally glides consistently, unfold one spare example and observe how the creases distribute the paper. That inspection teaches more than adding random folds after every throw.
Related Reading
For building confidence with unfamiliar skills, read Little Lioness’s guide to taking the first step. Paper projects are useful for low-cost experimentation.
Frequently Asked Questions
Why does it dive?
Inspect nose alignment, wing shape, and release. Try a tiny symmetrical rear-edge adjustment rather than throwing harder.
Why does it turn?
One wing or fold may differ, or the launch may twist. Compare sides from the front before adding more bends.
Can I decorate it?
Yes, lightly. Heavy tape or decorations change weight and balance; test the simple design first so you can compare.
Put the Guide Into Practice
A reliable paper airplane comes from a repeatable fold and a consistent gentle launch. Match both sides, test safely, and make small changes you can compare. When an adjustment helps, keep the successful version as a reference instead of immediately changing every part again.