
How to Boil Eggs for Soft Jammy and Firm Yolks
- 14 Views
- johansan great
- October 10, 2026
- Reviews
To boil eggs consistently, use the same egg size and starting temperature, lower them gently into simmering water, time the cooking, and cool them promptly. The exact minutes depend on your eggs, altitude, and preferred yolk texture. A controlled method makes it easier to adjust the next batch instead of guessing each time.
Eggs can be cooked to a flowing center, a thick jammy yolk, or a fully firm yolk. Softer results are popular for immediate serving, while firm eggs suit many packed meals and salads. For people at higher risk from foodborne illness, choose fully cooked eggs or follow appropriate guidance on pasteurized eggs and safe preparation.
Choose and Inspect the Eggs
Start with clean, intact eggs stored as recommended where you live. Avoid eggs with cracked shells or obvious damage. Size matters: a small egg usually cooks faster than a large one. If you mix several sizes in one pot, expect different results at the same cooking time.
For repeatable timing, use eggs straight from the refrigerator or follow a recipe that specifies another starting temperature. Do not change that variable between batches without adjusting expectations. A room-temperature egg and a cold egg do not begin the process in the same condition.
Keep eggs refrigerated according to local handling guidance and do not leave them on the counter for a long period merely to make peeling easier. Age can influence peeling, but safe storage remains the priority. Buy and store eggs for freshness and safety rather than deliberately neglecting them.
Choose a Pot and Prepare an Ice Bath
Use a saucepan that lets the eggs sit in a single layer without being packed tightly. Add enough water to cover them comfortably once they are lowered in. A very small amount of water can cool sharply when several cold eggs enter the pot.
Prepare a bowl of cold water and ice before cooking. Having it ready lets you stop the heating promptly at the desired time. If you wait to search for a bowl after the timer rings, the eggs continue cooking while you organize the next step.
Set out a slotted spoon or another safe tool for lowering and lifting the eggs. Keep the handle away from the edge of the stove. Little Lioness’s article on kitchen safety is related reading for handling hot cookware and keeping preparation space organized.
Use a Gentle Hot Water Start
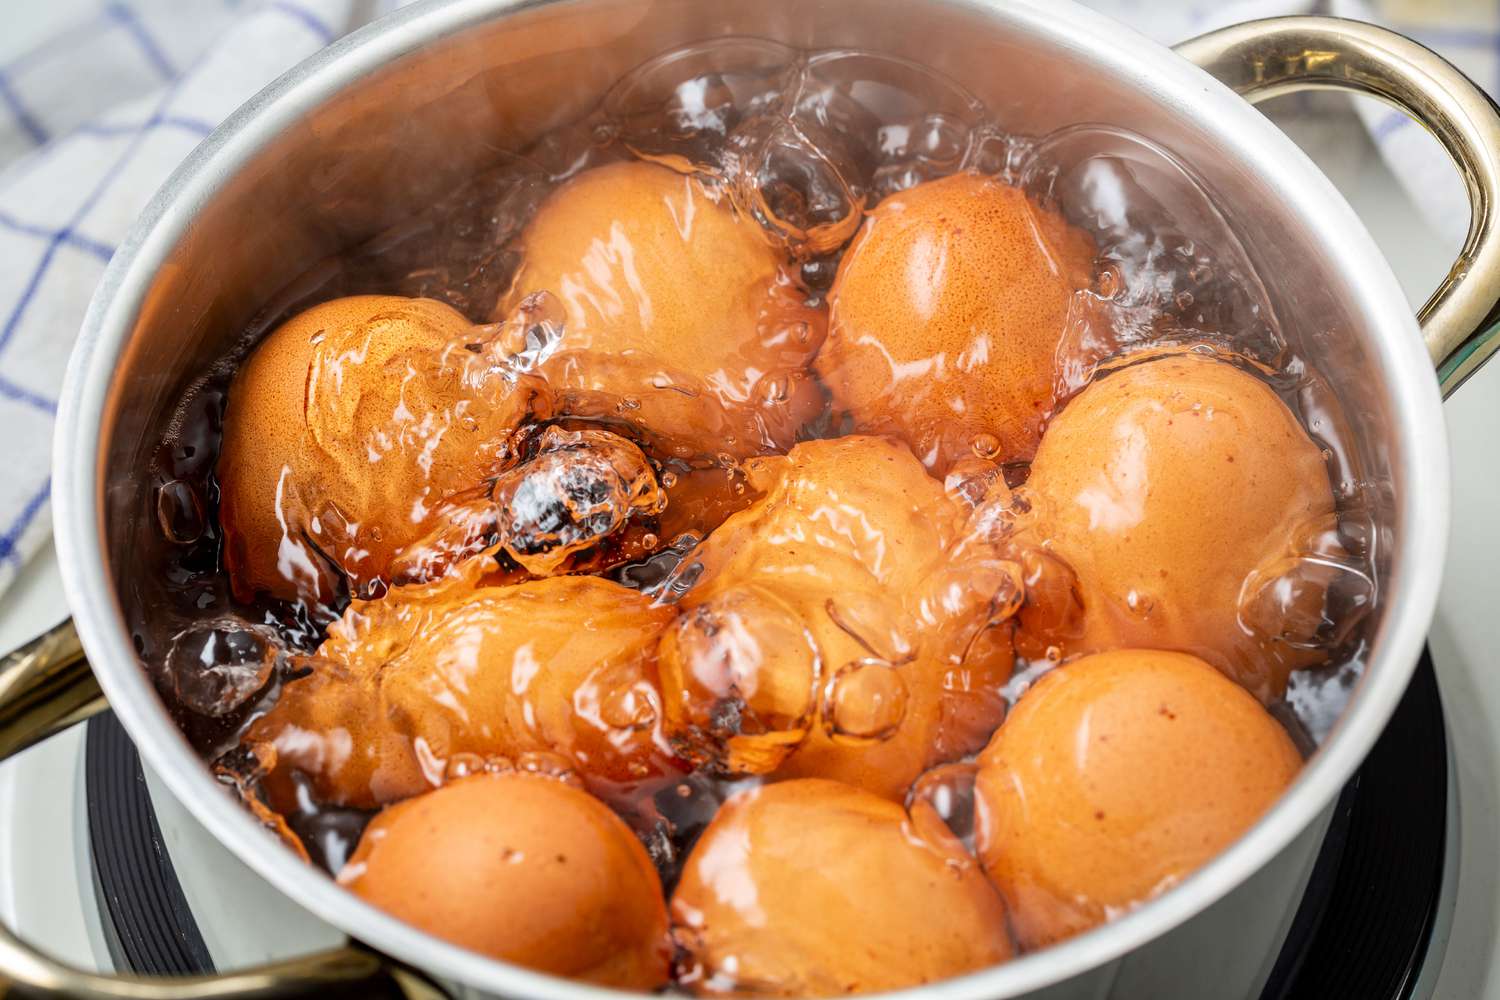
Bring the water to a boil, then lower the heat enough to prevent violent movement. Lower each egg carefully with a spoon. Avoid dropping it onto the bottom, which can crack the shell. Start the timer when the eggs are in the water.
Maintain a gentle boil or active simmer rather than letting the eggs bounce aggressively. If the water stops moving entirely after you add the eggs, bring it back toward the intended cooking level. Keep the method consistent so the timing means the same thing next time.
A hot water start is convenient for comparison because the cooking begins at a clearer point. A cold water method can also work, but it uses a different timing system. Do not mix minutes from a hot-start guide with a cold-start procedure and expect identical yolks.
Use Timing as a Starting Point
For large refrigerated eggs in a hot water method, about six to seven minutes can produce a soft center, eight to nine a more jammy yolk, and ten to twelve a firm yolk. These are practical ranges rather than guarantees. The white and yolk should match your intended result.
Test one egg from the first batch if precision matters. Cut it open after cooling enough to handle safely and inspect the center. If it is softer than you wanted, add a little time next batch. If it is too firm, reduce the time slightly while keeping other variables unchanged.
For a completely firm result, ensure both white and yolk are set. A clock alone cannot compensate for an unusually large egg or a poorly maintained simmer. Use the observed result to refine your method, especially when cooking for someone who needs fully cooked eggs.
Cool the Eggs Promptly
Transfer the eggs carefully into the prepared cold bath when the timer ends. Cooling limits carryover cooking and makes handling easier. Add more cold water or ice if the bath quickly becomes warm. A small bowl may need refreshing after a large batch.
Let the eggs cool enough for safe peeling. For firm eggs intended for storage, chill them promptly and refrigerate rather than leaving them out while you finish other tasks. The cooling step is part of the method, not an optional decoration.
Do not assume an ice bath guarantees easy peeling for every egg. It helps with handling and cooking control, but shell removal is affected by other factors too. Keep expectations realistic and focus on preserving the white rather than pulling the shell off as fast as possible.
Peel Without Tearing the White
Tap the shell gently around the egg and begin near the wider end, where an air pocket may help you get started. Work under the thin membrane beneath the shell. Removing that membrane along with the shell often allows larger pieces to lift away.
Peeling under a small stream of water or in a bowl can help loosen fragments. Use water sparingly and keep the egg clean. If the shell clings strongly, slow down rather than digging deeply with a fingernail and tearing chunks from the white.
Soft eggs need extra care because their structure is more delicate. Support the egg and remove small pieces. If you plan to serve it in an egg cup, removing only the top may be easier than peeling the entire shell. Match the technique to how you will eat it.
Troubleshoot Cracks and Leaking Whites
A crack can develop from impact, rapid temperature change, or an already damaged shell. Lower eggs gently and avoid a rolling boil that throws them against the pot. Inspect shells before cooking so that a preexisting crack does not surprise you.
If a small crack releases some white during cooking, the shape may become irregular. That does not automatically tell you whether the egg is safely cooked. Consider the egg’s original condition and cook it thoroughly. Discard eggs that were damaged or stored unsafely before preparation.
Adding vinegar or salt is sometimes suggested for limiting spreading when a shell cracks, but neither replaces gentle handling. Do not depend on an additive to make a damaged egg suitable for storage. Prevention is simpler than trying to repair the appearance after a leak.
Understand the Greenish Yolk Ring
A gray-green ring around a firm yolk often develops when eggs are cooked too long or cooled slowly. It is associated with a reaction between compounds in the white and yolk. It is generally a quality issue rather than proof that the egg has spoiled.
Use a controlled time and cool promptly to reduce the ring. Excessive boiling can also make the white rubbery and the yolk dry. If you want a fully set yolk, you still do not need to keep cooking long after it reaches that texture.
Do not confuse a familiar cooking ring with every unusual smell or appearance. Storage history matters. An egg that has been mishandled should not be judged safe merely because its discoloration resembles a common overcooking effect.
Store Firm Boiled Eggs Properly
Refrigerate hard-cooked eggs promptly and use them within about one week under appropriate refrigeration. Store them in a clean covered container and label the cooking date. Peeled eggs also need refrigeration; removing the shell does not make them shelf stable.
Do not leave cooked eggs at room temperature for extended serving periods. General food safety guidance limits perishable food to two hours outside safe temperature control, or one hour in very hot conditions. Plan cooling and transport accordingly rather than relying on how fresh the eggs smell.
Treat soft and jammy eggs as foods for prompt serving unless you have reliable guidance for their particular preparation and storage. A runny center is different from a fully cooked egg. For packed meals, a firm result is easier to handle predictably.
Serve Eggs in Simple Meals
Halved firm eggs can add substance to a salad, while a jammy egg can top toast or a grain bowl. Prepare the other ingredients before cooking soft eggs so they can be served at the intended texture. Season after tasting the whole dish.
For guests, offer eggs as part of a planned menu rather than leaving a bowl unrefrigerated all afternoon. Little Lioness’s guide to easy dinner hosting is a relevant companion for coordinating preparation and serving.
If you make egg salad, use clean utensils and refrigerate it promptly. Adding dressing does not remove the need for safe temperature control. Pack it with a suitable cold source when refrigeration will not be available immediately.
Adjust for Equipment and Altitude
At higher elevations, water boils at a lower temperature, so cooking can take longer. Your usual sea-level timing may leave the center softer than expected. Make a test batch and consult guidance appropriate to your location if you need a reliably firm result.
Induction, gas, and electric burners also respond differently when eggs are added. What matters is the water’s behavior, not a universal knob position. Keep a note of the pot, egg size, and timing that works in your kitchen.
Frequently Asked Questions
Should I Put Eggs in Cold or Hot Water
Both approaches can work when followed consistently. This guide uses a hot water start because timing begins at a clear point. A cold-start recipe may count from boiling or use a covered off-heat rest. Follow one complete method instead of combining the steps of several.
Can I Reboil an Egg That Is Too Soft
Further cooking can change the texture, but handling a cooled or peeled egg may be awkward. For reliable results, adjust the next batch and fully cook eggs when required for safety. Do not use repeated heating as a way to compensate for unsafe storage.
Why Are My Eggs Hard to Peel
Very fresh eggs can cling more strongly, and peeling technique also matters. Start at the wider end, get beneath the membrane, and use gentle water-assisted peeling if helpful. Keep the cooking and cooling method consistent so you can see which change improves the result.
Build Your Own Reliable Timing
Learning how to boil eggs is mostly about controlling a few variables. Use similar eggs, lower them gently, time the cooking, and cool promptly. Once you identify the timing that produces your preferred yolk, repeat the same setup and handle leftovers safely.