How to Change Your Airdrop Name: A Step-by-Step Guide
How to change your airdrop name? Airdrop is a convenient feature available on Apple devices that allows users to quickly and wirelessly share files, photos, and other content with nearby devices. When you use Airdrop, your device is identified by a default name, such as “John’s iPhone” or “Mary’s MacBook.” However, you may want to personalize this name to make it easily recognizable or simply reflect your personality. Fortunately, changing your Airdrop name is a straightforward process, and this article will guide you through the steps on various Apple devices.
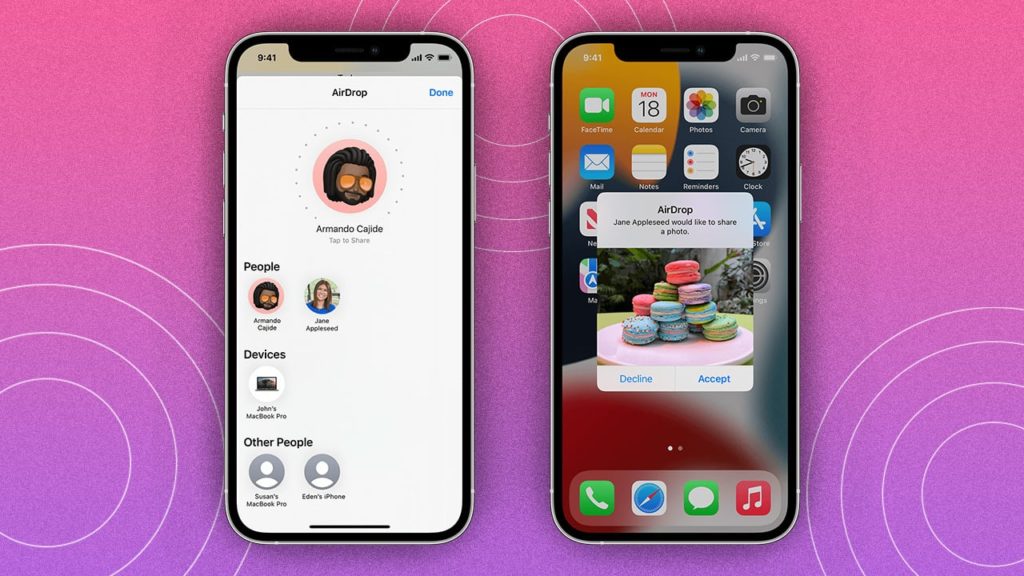
AirDrop is an incredibly convenient feature available on Apple devices, allowing users to quickly and wirelessly share files, photos, and other content with nearby devices. It works seamlessly on iPhones, iPads, and Macs, making it a preferred method for file sharing among Apple users. By default, each device is identified by a name like “John’s iPhone” or “Mary’s MacBook” when using AirDrop. However, customizing your AirDrop name can make it easier for people to recognize and send files to your device.
Changing your AirDrop name is a simple process and can be done on iPhones, iPads, and Macs. Whether you want to use your name, a nickname, or any other personalized identifier, you can easily update your AirDrop name using the following steps:
Read Also: Navigating Orthodontics: Braces, Aligners, and Smile Transformations
How to Change Your AirDrop Name on iPhone and iPad:
Open the “Settings” app on your iPhone or iPad.
Tap on “General” in the Settings menu.
Select “About” to access the device information.
Tap on “Name” and enter your desired AirDrop name in the field provided. Keep it short for easy recognition.
Press “Done” on the keyboard to save the new name.
Your AirDrop name is now updated, and it will be used for Bluetooth and other connections, as well as when listing your device on iCloud and Find My.

How to Change Your AirDrop Name on Mac:
Ensure your Mac is using the latest version of macOS to avoid any issues.
Click on the Apple icon in the upper-right corner of your Mac’s screen.
Go to “System Preferences.”
Click on “General” in the left sidebar of the System Preferences window.
Select “About” to access your Mac’s information.
Click on the “Name” field and type your new computer name (AirDrop name).
The new name will be used to identify your Mac in AirDrop and nearby devices.
Enabling and Using AirDrop:
If you have never used AirDrop before or if it’s turned off, follow these steps to enable it on your Apple devices:
For iPhones and iPads:
Go to “Settings.”
Tap on “General.”
Select “AirDrop.”
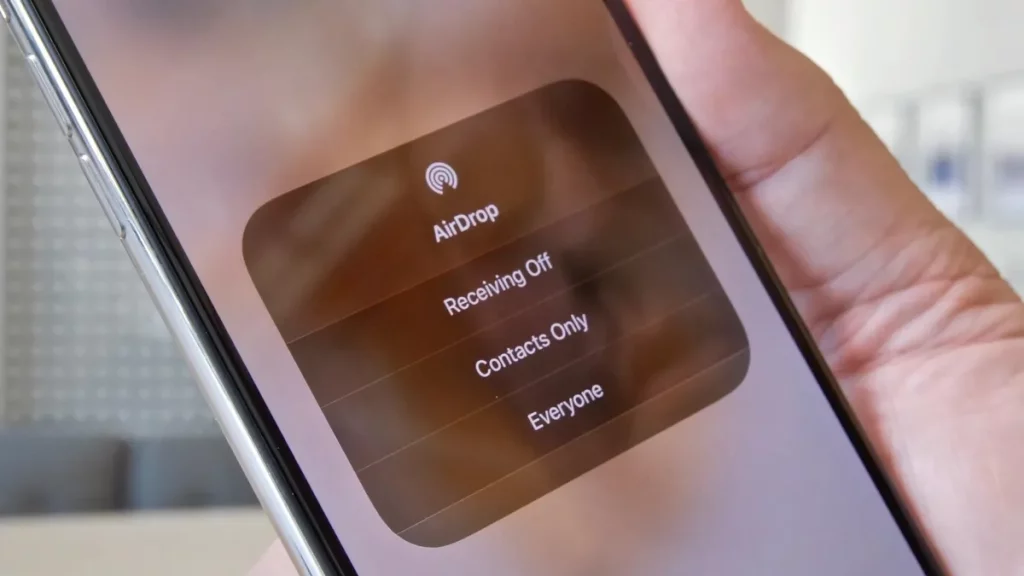
Choose “Contacts Only” or “Everyone” based on your preference. Contacts Only allows only people in your contacts list to send you files, while Everyone makes your device visible to all nearby Apple devices for ten minutes.
For Macs:
Open Finder and press “Command+Shift+R” on your keyboard to access AirDrop.
At the bottom of the AirDrop screen, click on “Allow me to be discovered by.”
Choose “Contacts Only” or “Everyone” as per your preference.
Using AirDrop:
Once AirDrop is enabled, sending and receiving files is straightforward:
On iPhones and iPads:
When sending a file, the AirDrop menu will appear on the screen. Tap it and select the device you want to send the file to.
On Macs:
Open Finder, press “Command+Shift+R,” and you’ll see the list of nearby devices. Drag and drop the file you want to share onto the device’s icon.

Changing Airdrop Name on iPhone and iPad:
Step 1: Open Settings:
Unlock your iPhone or iPad and go to the “Settings” app. It is usually represented by a gear icon on the home screen.
Step 2: Access General Settings:
In the Settings menu, scroll down and tap on “General.”
Step 3: Select About:
Within the General settings, tap on “About.”
Step 4: Tap on Name:
Under the About section, you will see your device’s current name. Tap on it to edit.
Step 5: Enter New Airdrop Name:
A pop-up window will appear, allowing you to enter a new name. Type in your desired Airdrop name, and then tap “Done” on the keyboard.
Step 6: Verify the Change:
After entering the new name, you’ll see it displayed in the About section. Your Airdrop name is now updated.

Read Also: The Future of Betting: Predictions and Trends for the Next Decade
Changing Airdrop Name on Mac:
Step 1: Open System Preferences:
Click on the Apple icon in the top-left corner of your Mac’s screen and select “System Preferences” from the drop-down menu.
Step 2: Access Sharing Settings:
In the System Preferences window, click on “Sharing.”
Step 3: Modify the Computer Name:
Within the Sharing settings, you will see your Mac’s current name displayed at the top. This name is used for Airdrop as well. To change it, click on the “Edit” button (it looks like a small pencil icon) next to the computer name.
Step 4: Enter New Airdrop Name:
A text box will appear, allowing you to type a new name. Enter your preferred Airdrop name and click “OK.”
Step 5: Verify the Change:
After making the change, you will see the new name displayed in the Sharing settings. Your Airdrop name is now updated.
Changing Airdrop Name on iPod Touch:
The process for changing the Airdrop name on an iPod Touch is identical to changing it on an iPhone or iPad. Follow the same steps outlined in Section 1: “Changing Airdrop Name on iPhone and iPad.”
Conclusion:
Personalizing your Airdrop name is a simple way to make your Apple devices stand out and reflect your individuality. Whether you want to use your name, a nickname, or any other creative identifier, you can easily change your Airdrop name on your iPhone, iPad, Mac, or iPod Touch. The steps provided in this guide are user-friendly and require no technical expertise. Now you can enjoy sharing files with a more personalized touch!
AirDrop is a remarkable feature that simplifies file sharing among Apple devices. Changing your AirDrop name is a quick and easy way to make your devices easily recognizable and personal. Whether you have an iPhone, iPad, or Mac, customizing your AirDrop name allows for seamless communication and effortless file transfers among your Apple devices.
Read Also: How to Draw a Girl: A Step-by-Step Guide

